Sponsored by: Cricut. All opinions are honest and my own. This post also contains affiliate links. If you purchase via these links, I may receive a small commission at no additional cost to you. Last year when everything shut down, I had to become my son’s teacher for a few months. Okay teacher is a stretch, but I did buy a number of workbooks, games, and activities that were educational. And I even came up with a bunch of learning games for 1st graders PLUS made my own rolling dice math game that we still play now! One of the best purchases I made during that time was a digital math game (still one of the most fun math games for kids) that basically had my son run his own pizza parlor. The program would give him orders, and he would have to take the pizza pieces that came with the game and fulfill the order. He loved the game and never really even recognized that it was teaching him a variety of educational skills because he was having so much fun. Since he loved that game so much, I thought it would be fun to recreate it with a more tactile, offline experience using with a DIY felt pizza. They’re super simple to make and can be used in so many different ways, plus no screens!
Felt Pizza Supplies
Supply Notes
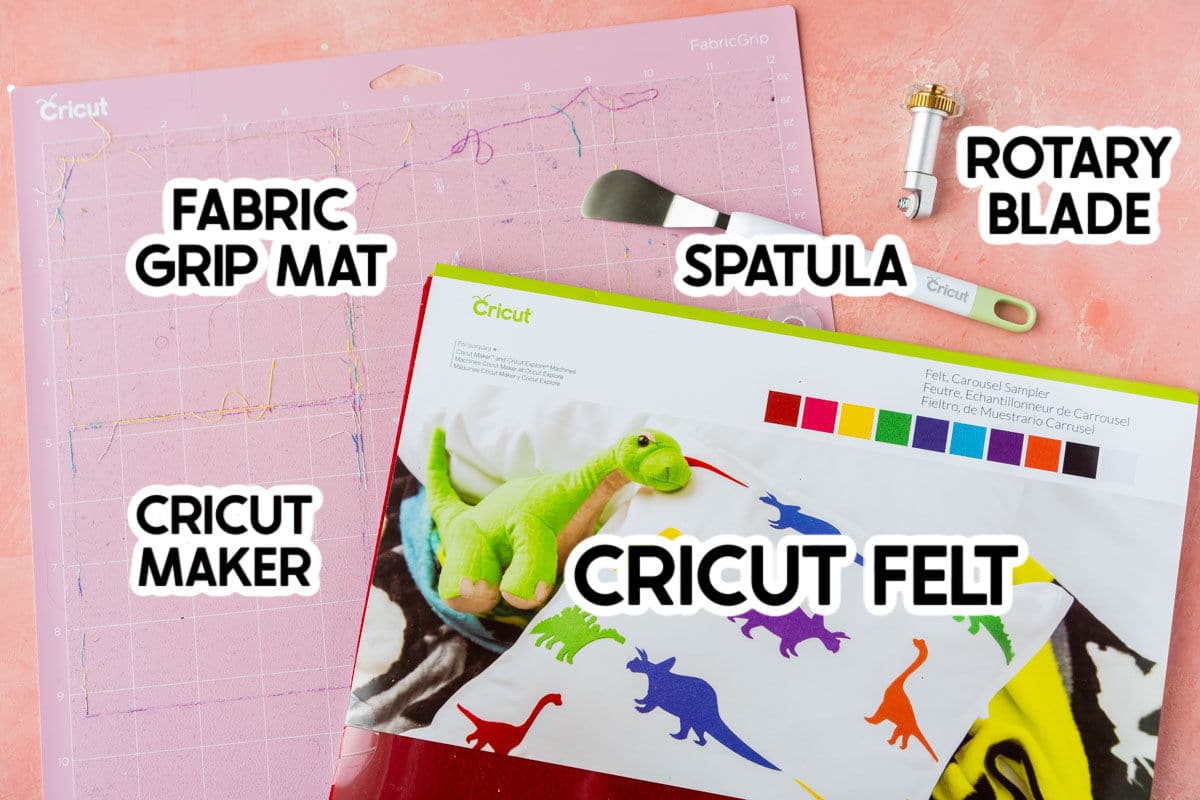
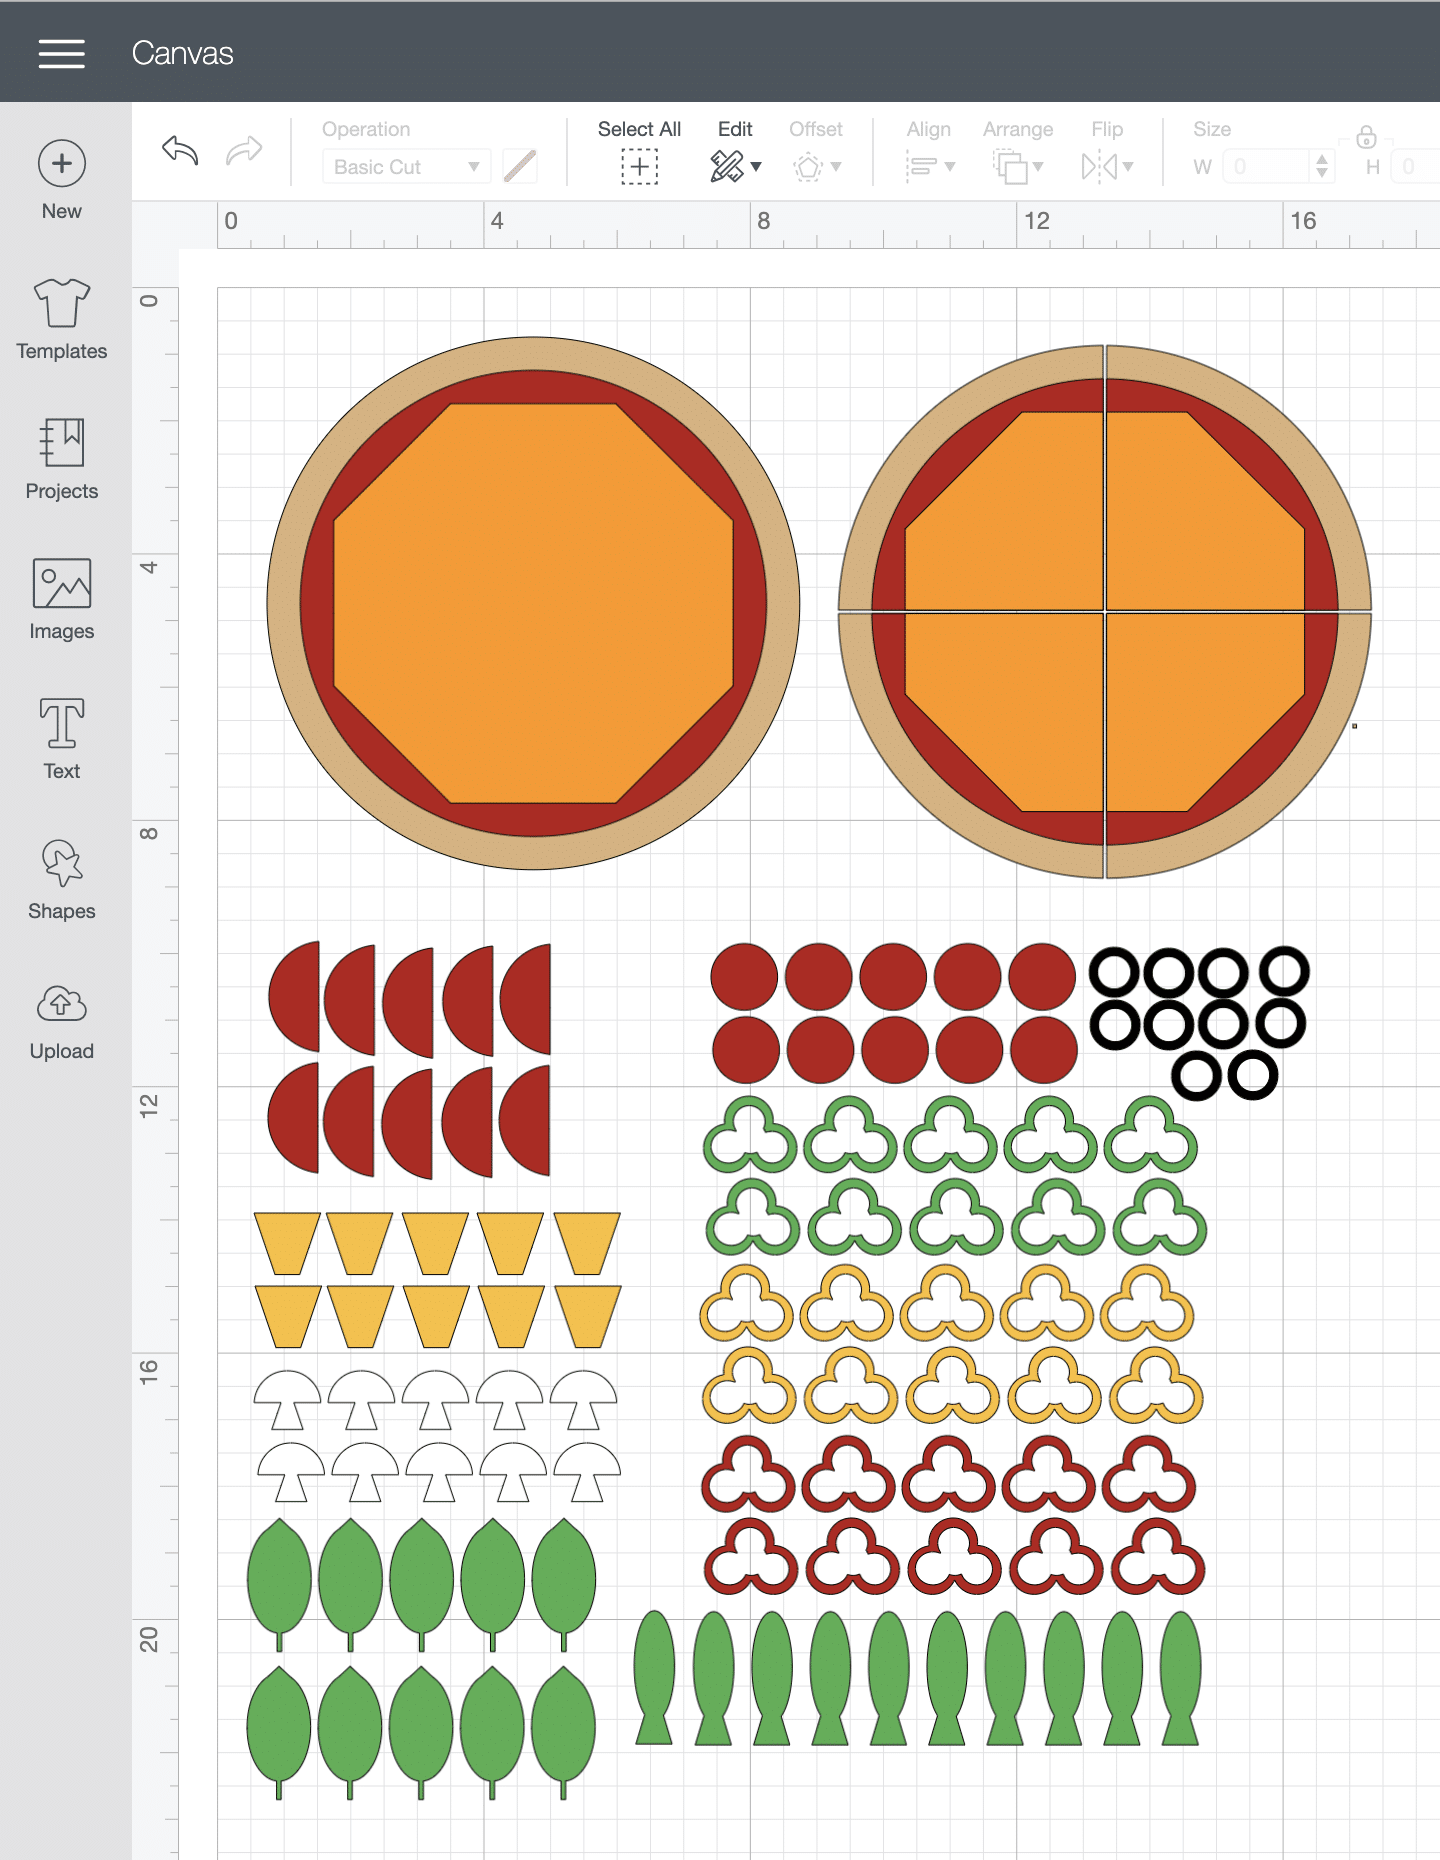
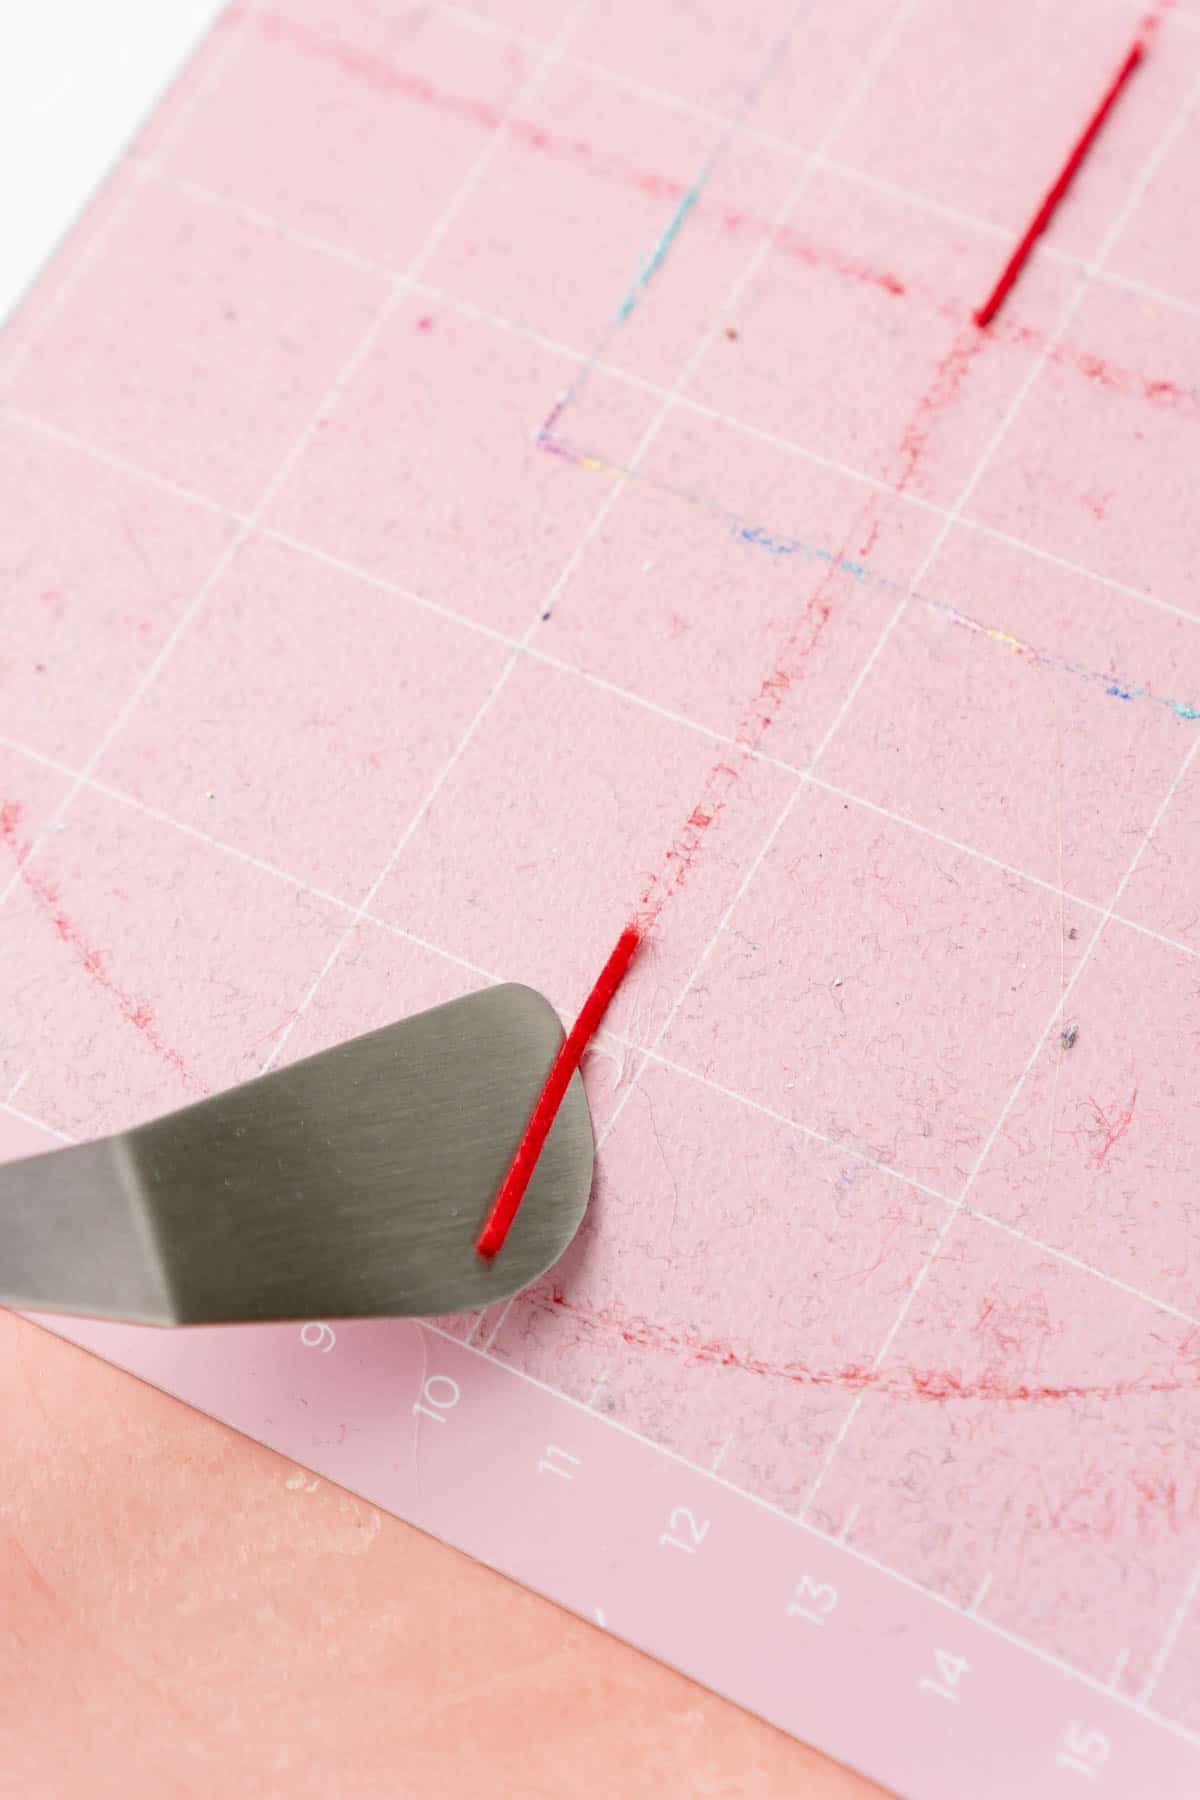
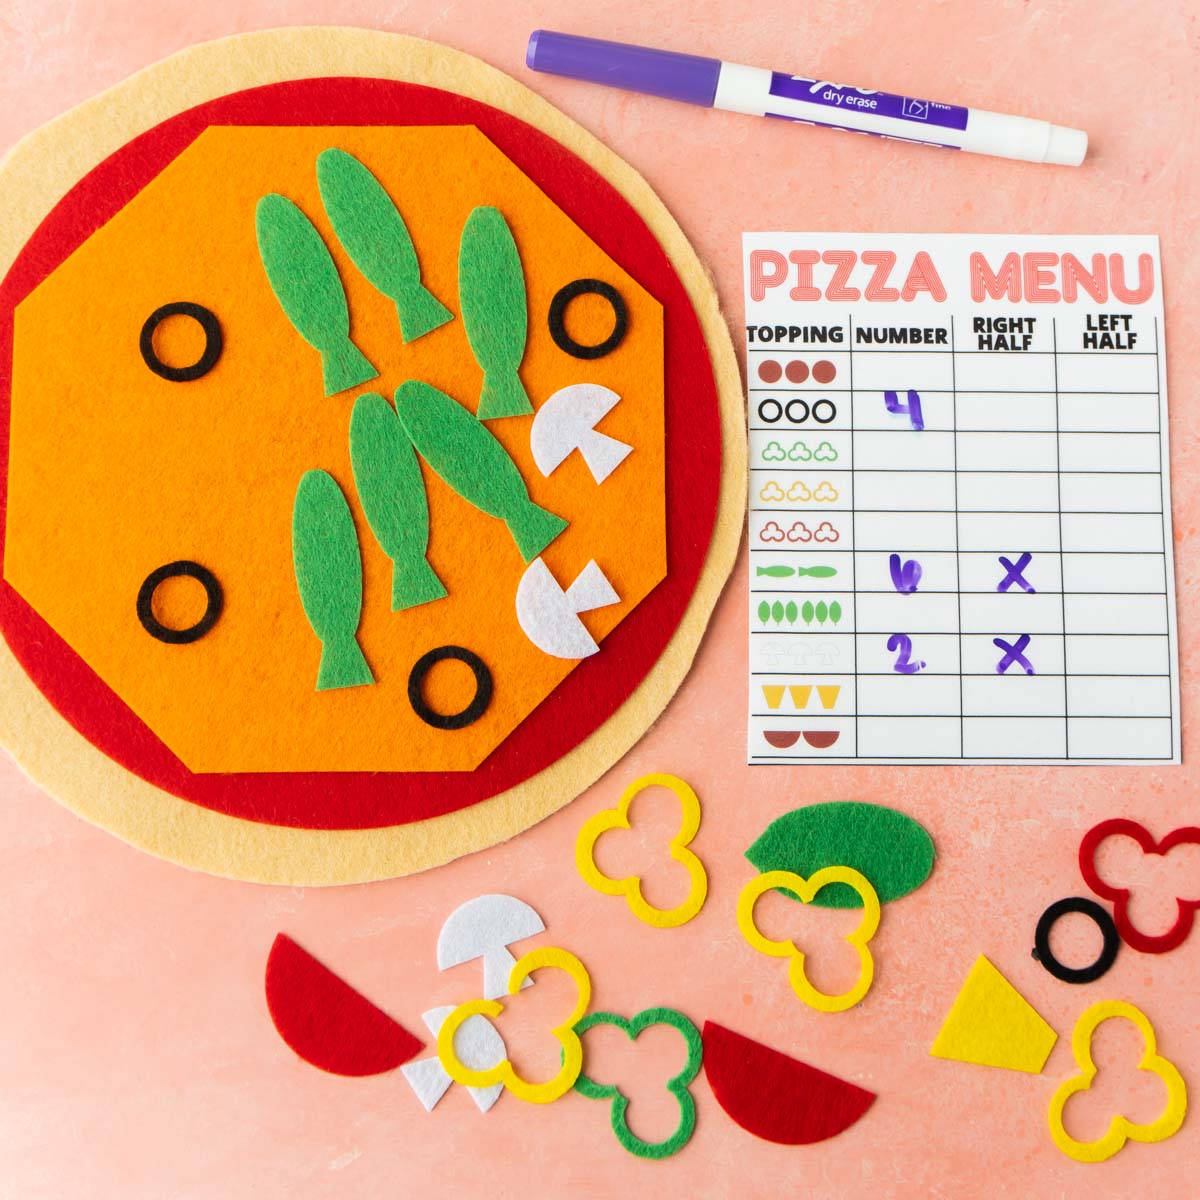
Cricut Maker – you could technically also use a Cricut Explore Air 2 (I’ve made lots of felt Cricut Explore projects), but the Cricut Maker cuts felt so much better with the rotary blade than the Explore does with the fine point blade. But if you do only have an Explore, you can still use the design and cut it. 1 pack of Cricut Felt Sampler – Carousel per pizza1 pack of Cricut Felt Sampler – Sky per pizza – this is specifically to get the tan color for the crust. If you don’t care what color your crust is, you could technically just use the Carousel pack and not get the Sky pack. I personally like that my pizzas look like pizzas, but again totally up to you! Cricut Mat – either StandardGrip or FabricGrip – I personally prefer the FabricGrip mat simply because it holds the felt better, but you can also use a StandardGrip if you don’t have a FabricGrip. Rotary Blade or Fine Point Blade – the Rotary Blade cuts much smoother than the Fine Point Blade.Cricut Spatula – this is optional, but I like to use it to get any lingering felt off the FabricGrip Mat. The tiny little pieces that get cut when you do the sliced pizza can sometimes stick and the spatula makes it easy to get them off. Cricut Design Space Felt Pizza Pattern – this includes both a full 8″ pizza, a sliced into four pieces 8″ pizza, and ten of each of the ten different toppings (pepperoni, three types of peppers, mushrooms, pineapples, olives, spinach/basil, anchovies, and tomatoes). You can open the file to use here. Pizza Menu & Pizza Cards – this is a printable file that you can download here or at the bottom of this post. It’s totally optional, but it can make using this set for fun felt activities way easier. Plus the menu is pretty cute! Laminator – if you’re using the pizza menu and cards, I recommend laminating them both to make them more sturdy. Plus, if you use a dry erase pen on the menu cards, you can use them over and over again.Laminating sheets – same as above, if you’re going to laminate them, you’ll need laminating sheets! Dry erase marker – the easiest way to write down your order on laminated menu cards; if you’re not laminating, you’ll want a pen or pencil to write down orders instead.
How to Make a felt pizza
First I’m going to show you how simple it is to make these felt pizzas at home, whether you want to make one, or an entire pizza parlor full! Then keep reading because I’m also going to share tons of felt activities you can do with your kids with the pizzas. They make great boredom busters, indoor activities for rainy, super hot, or just bored of being outside days!
1 – Open the Cricut Design Space File
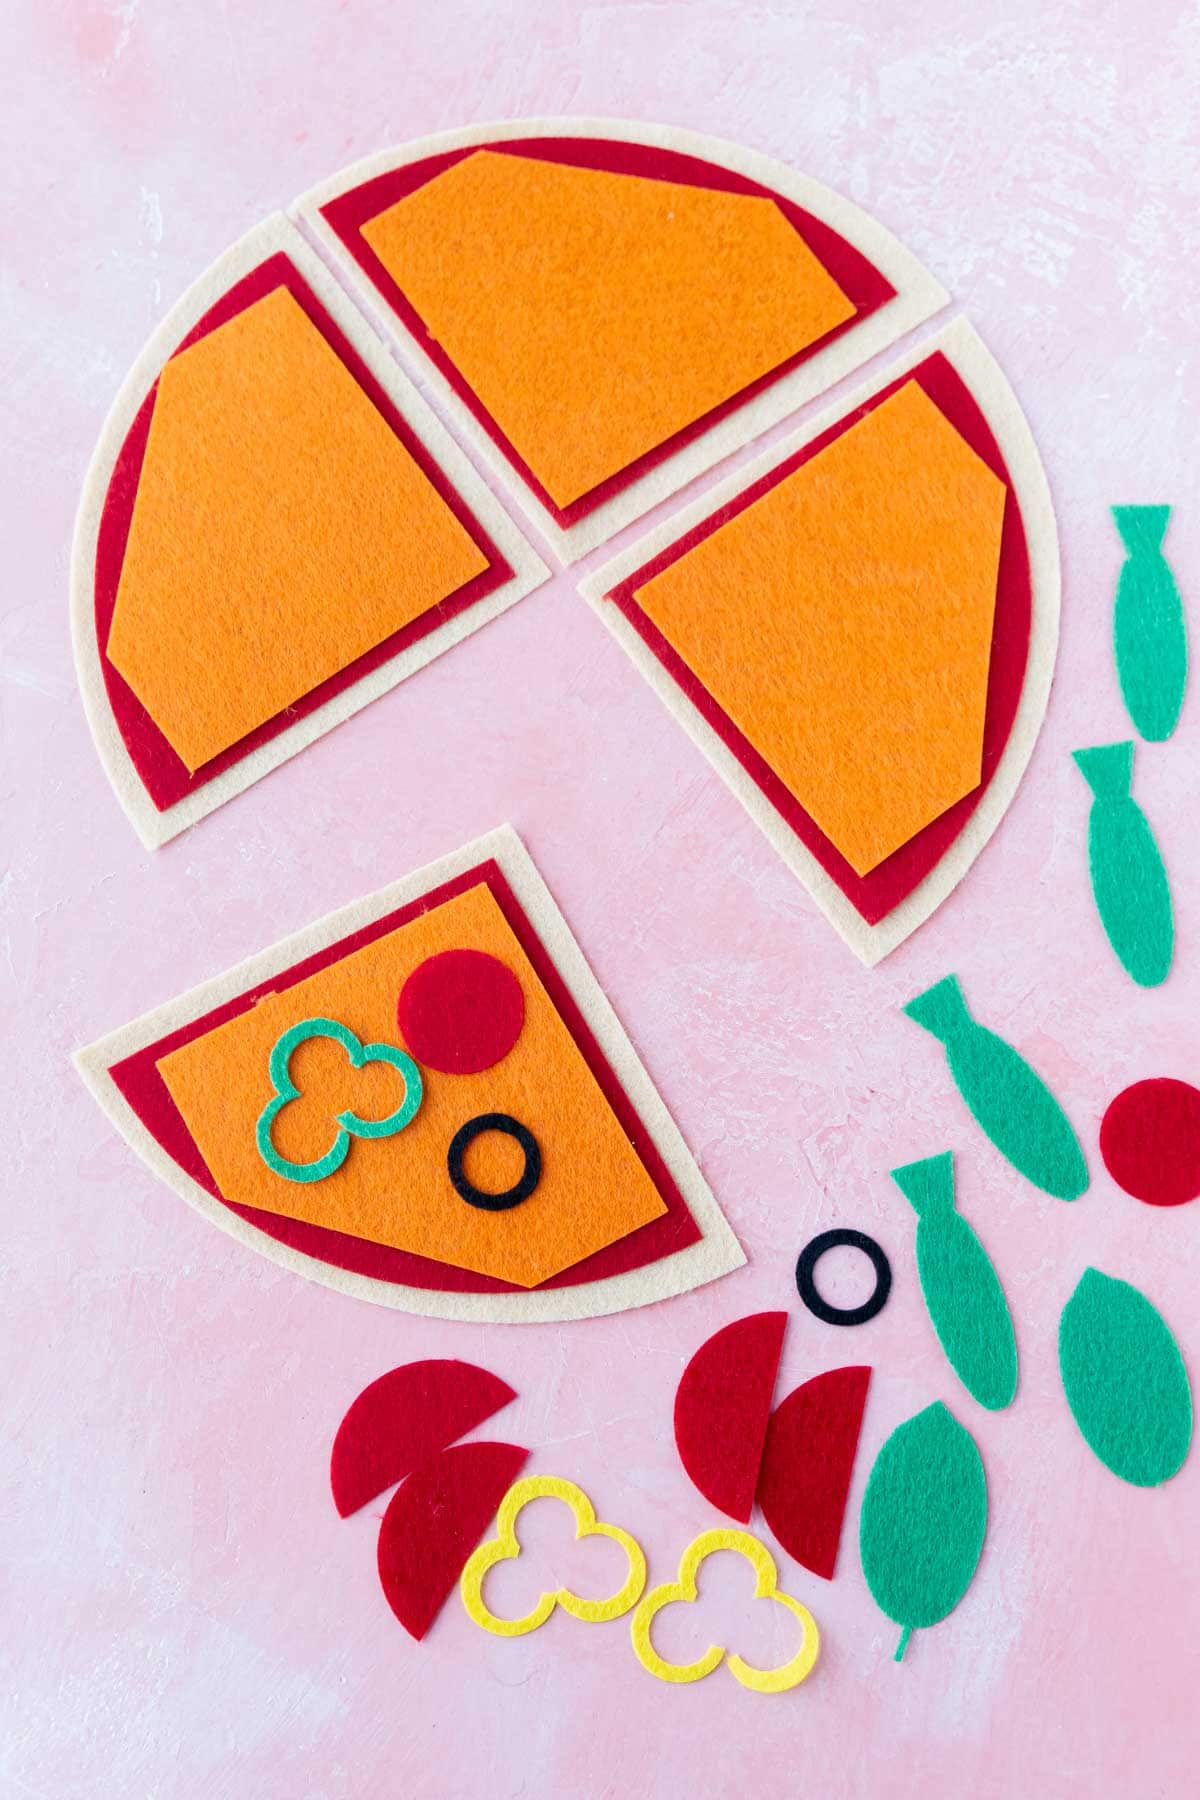
The first thing you need to do after your get all your supplies is open the felt pizza pattern here. You can either just hit make it right away or click customize to open and customize the file. The file comes all ready with:
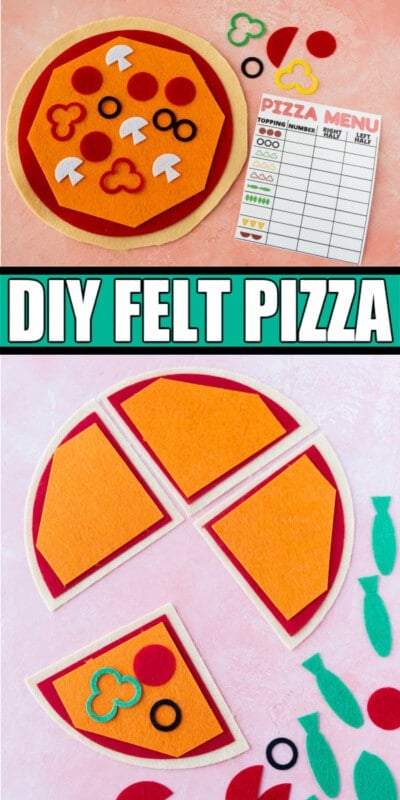
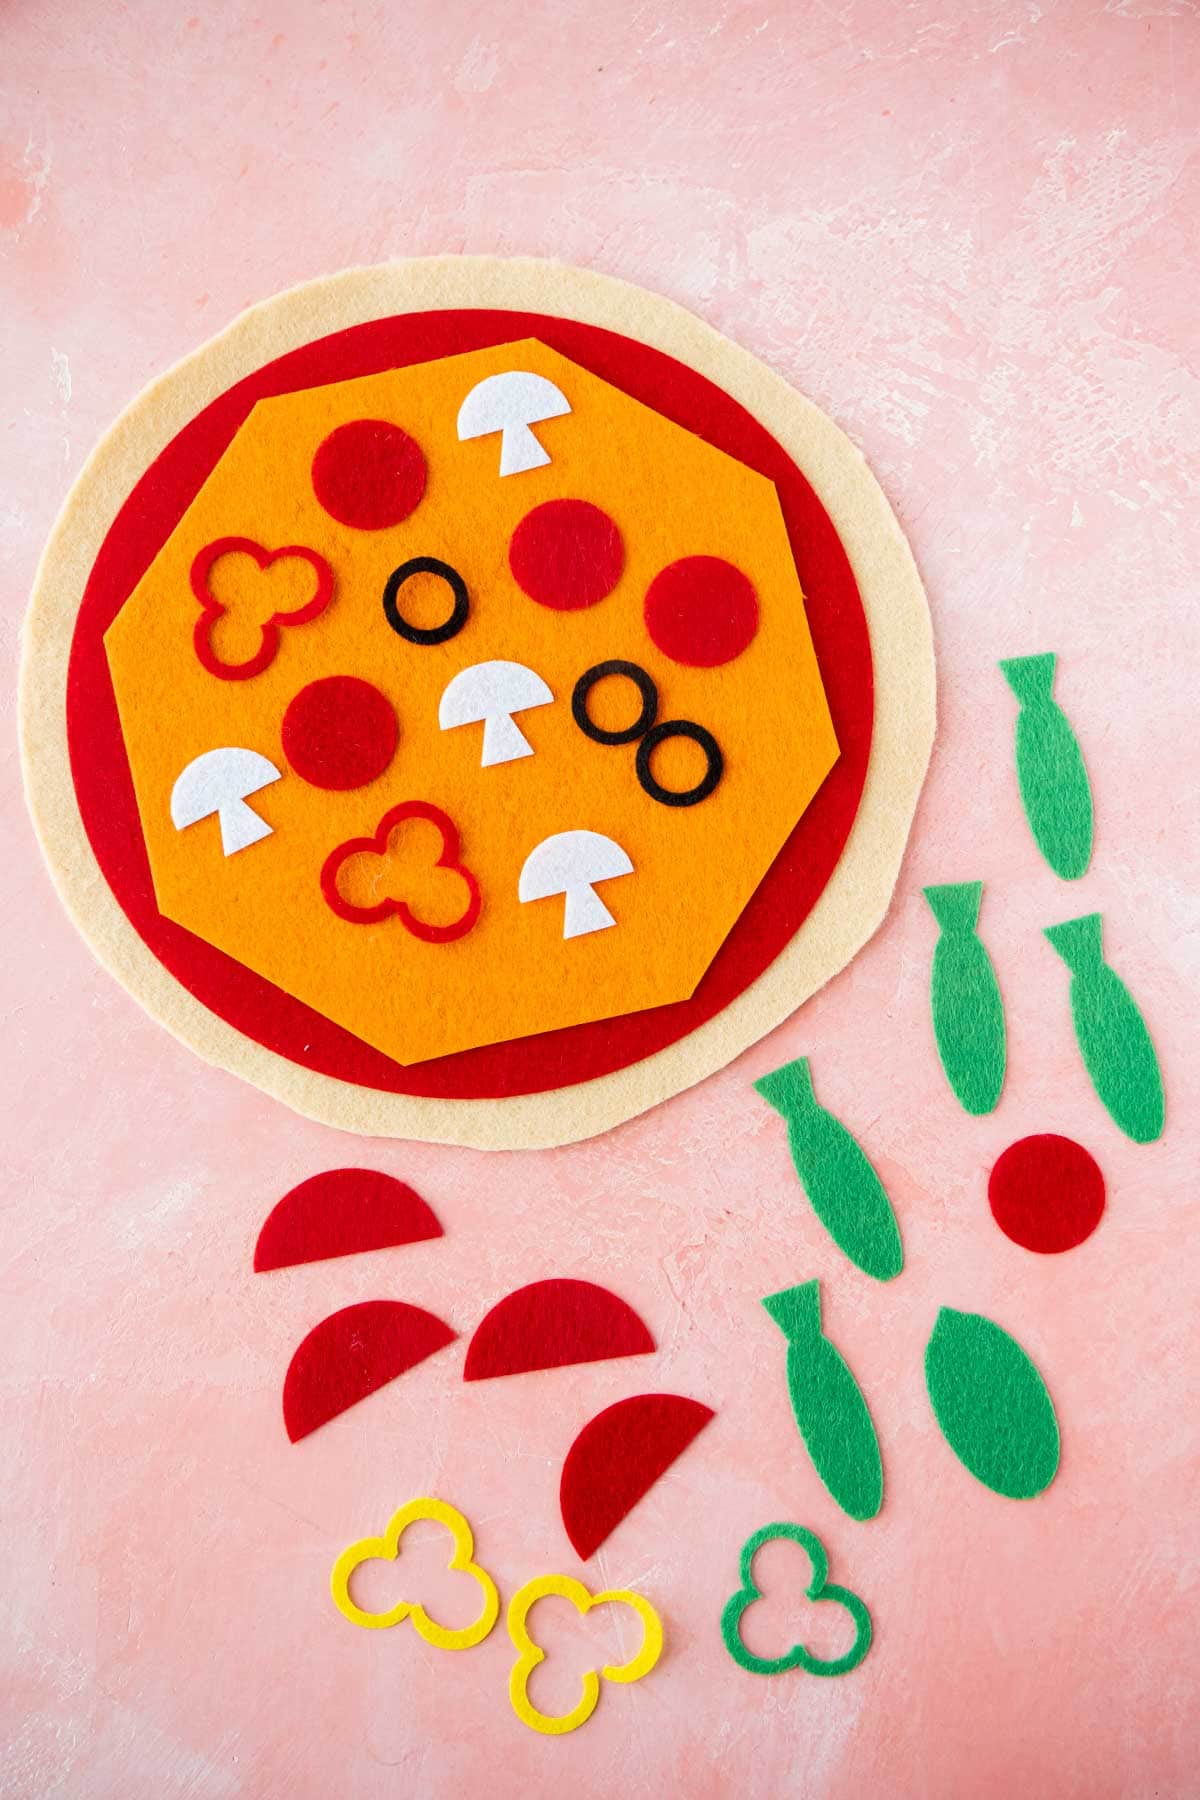
One eight inch full pizza, sauce, and cheeseOne eight inch cut into four pieces pizza, sauce, and cheese10 each of pepperoni, pineapple, green peppers, red peppers, yellow peppers, mushrooms, black olives, anchovies, tomatoes, and spinach/basil leaves.
If you want more or less toppings, you can easily just copy/paste new ones. Or if you want a larger pizza, you can customize the file however you want.
2 – Cut the Felt
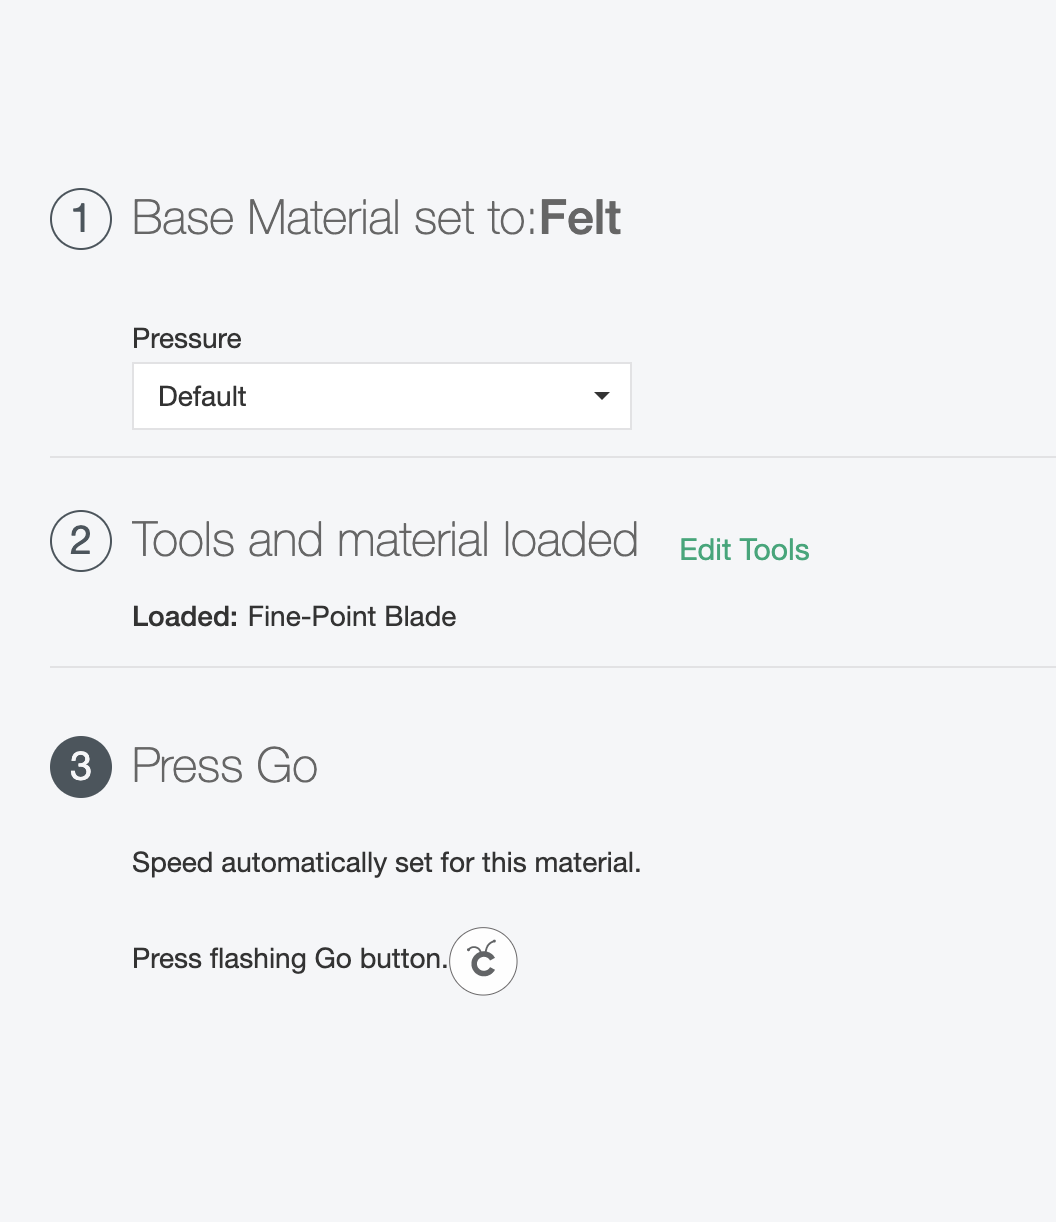
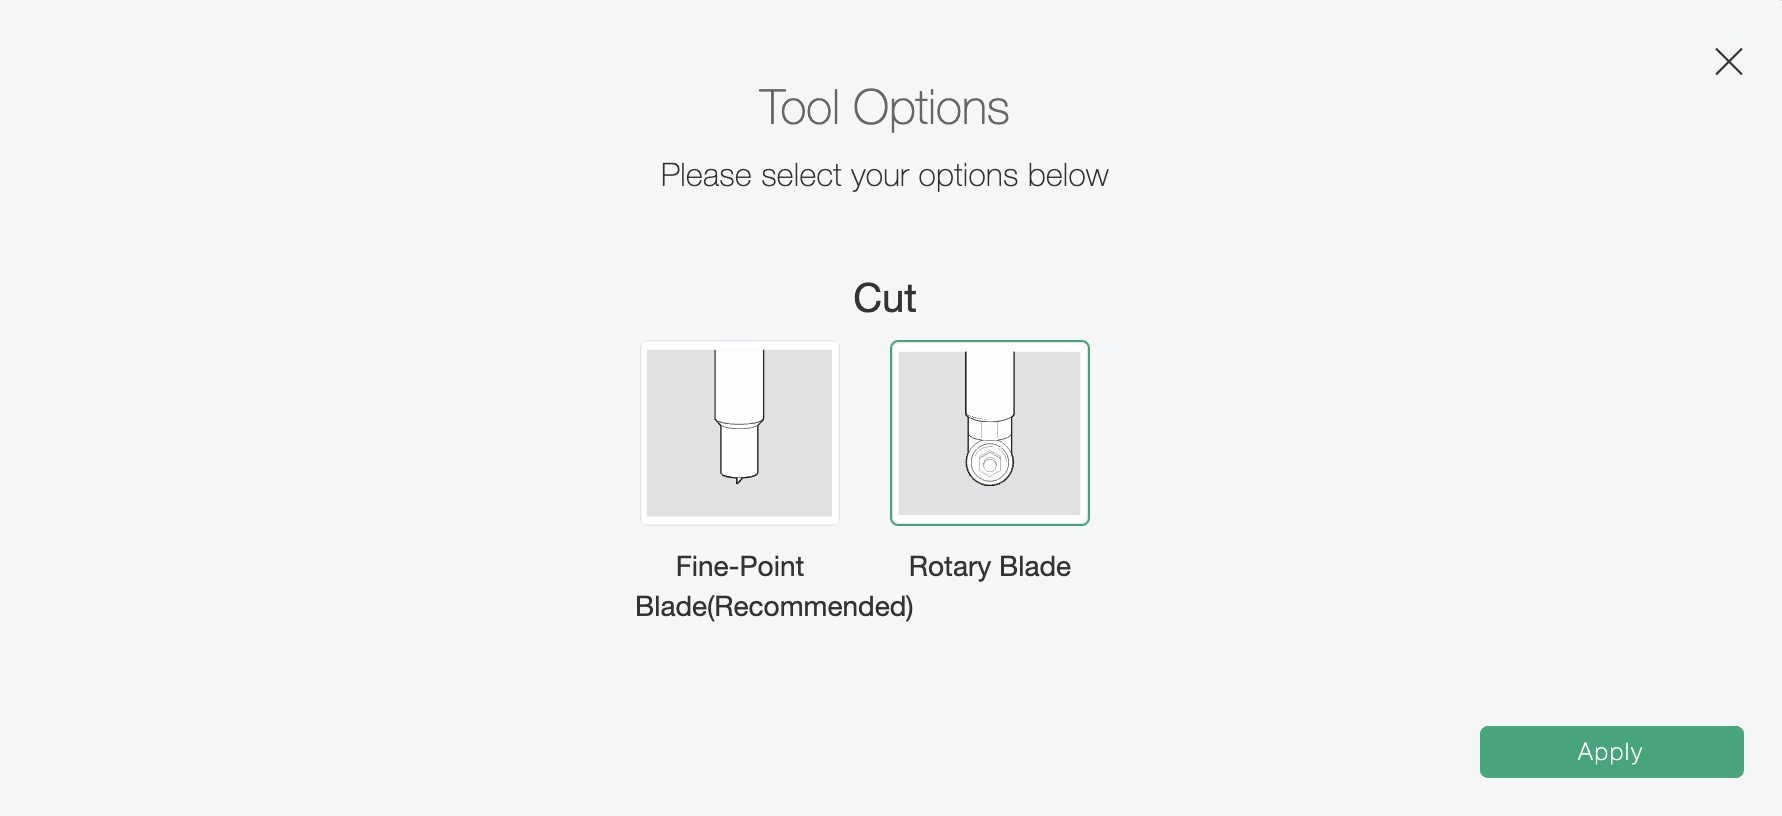
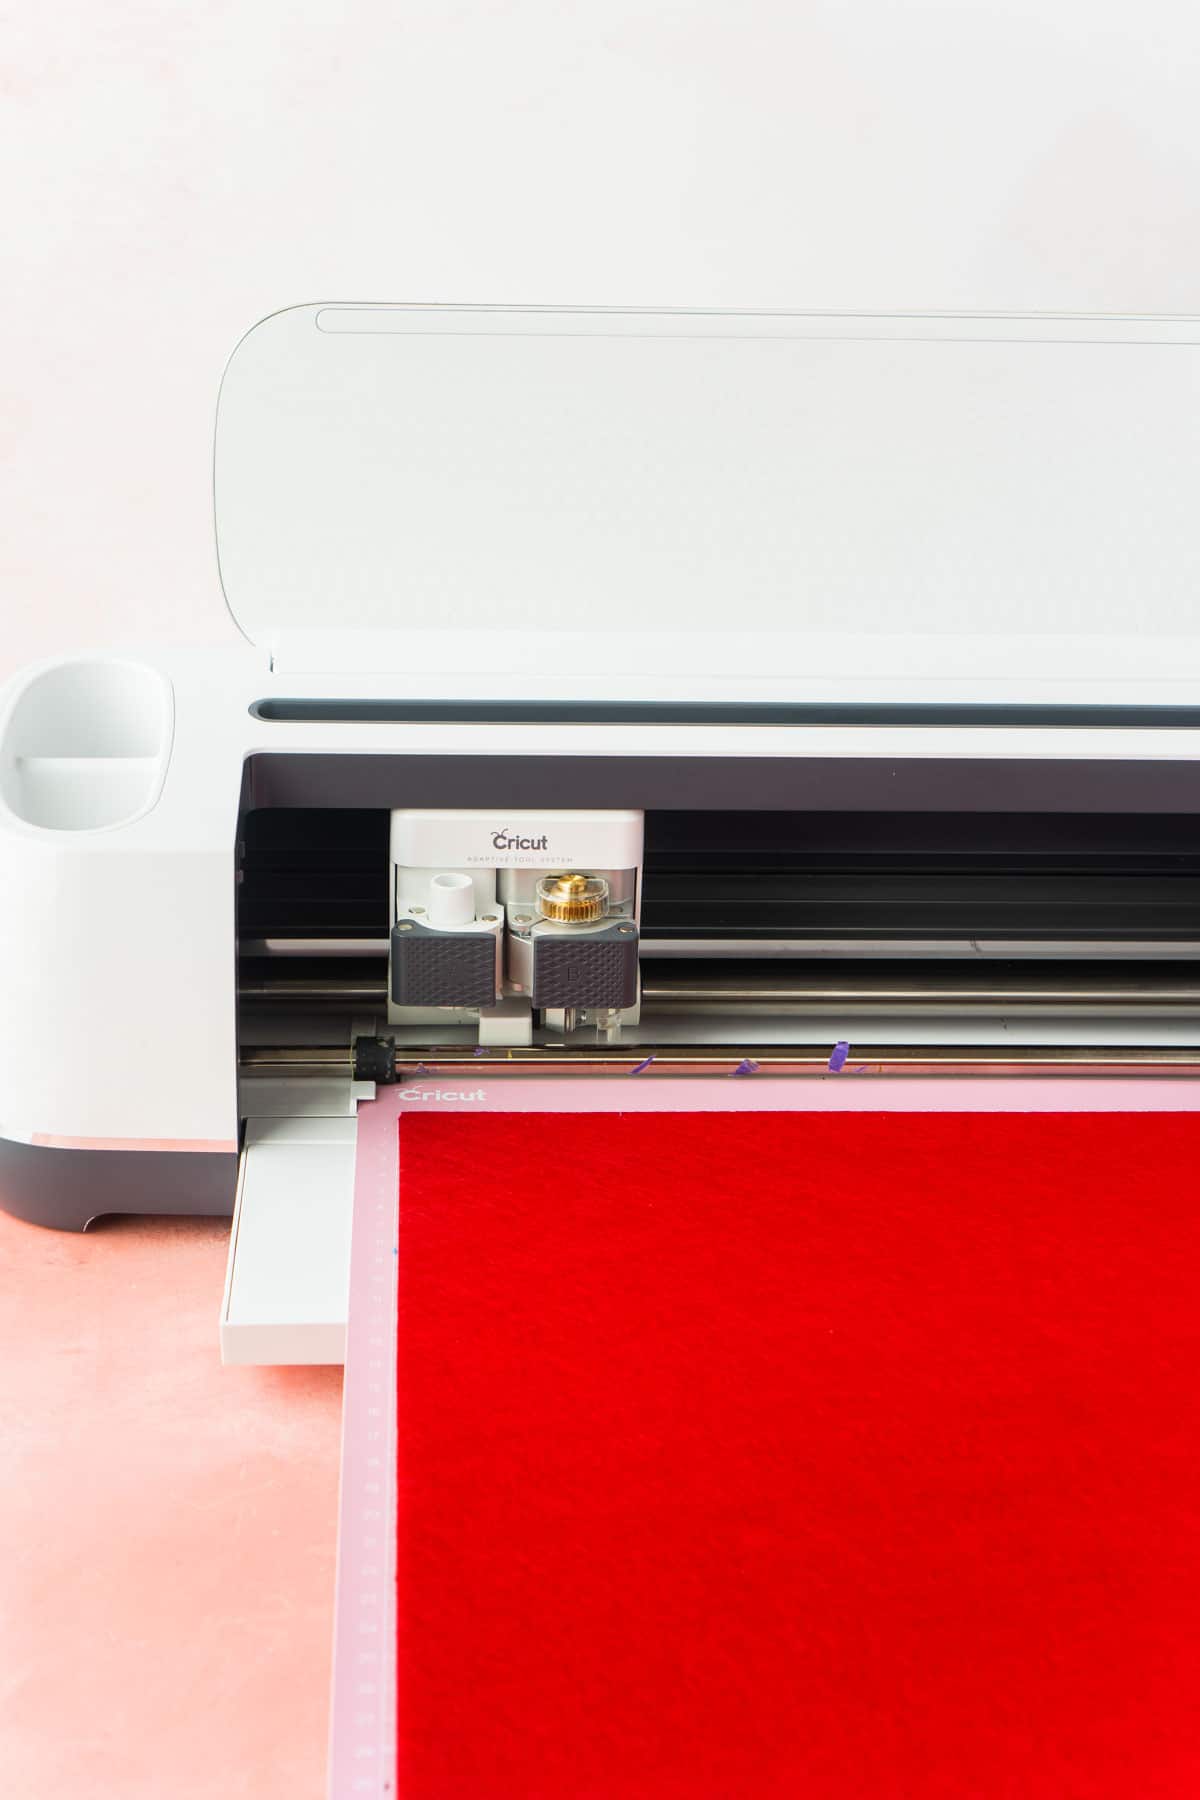
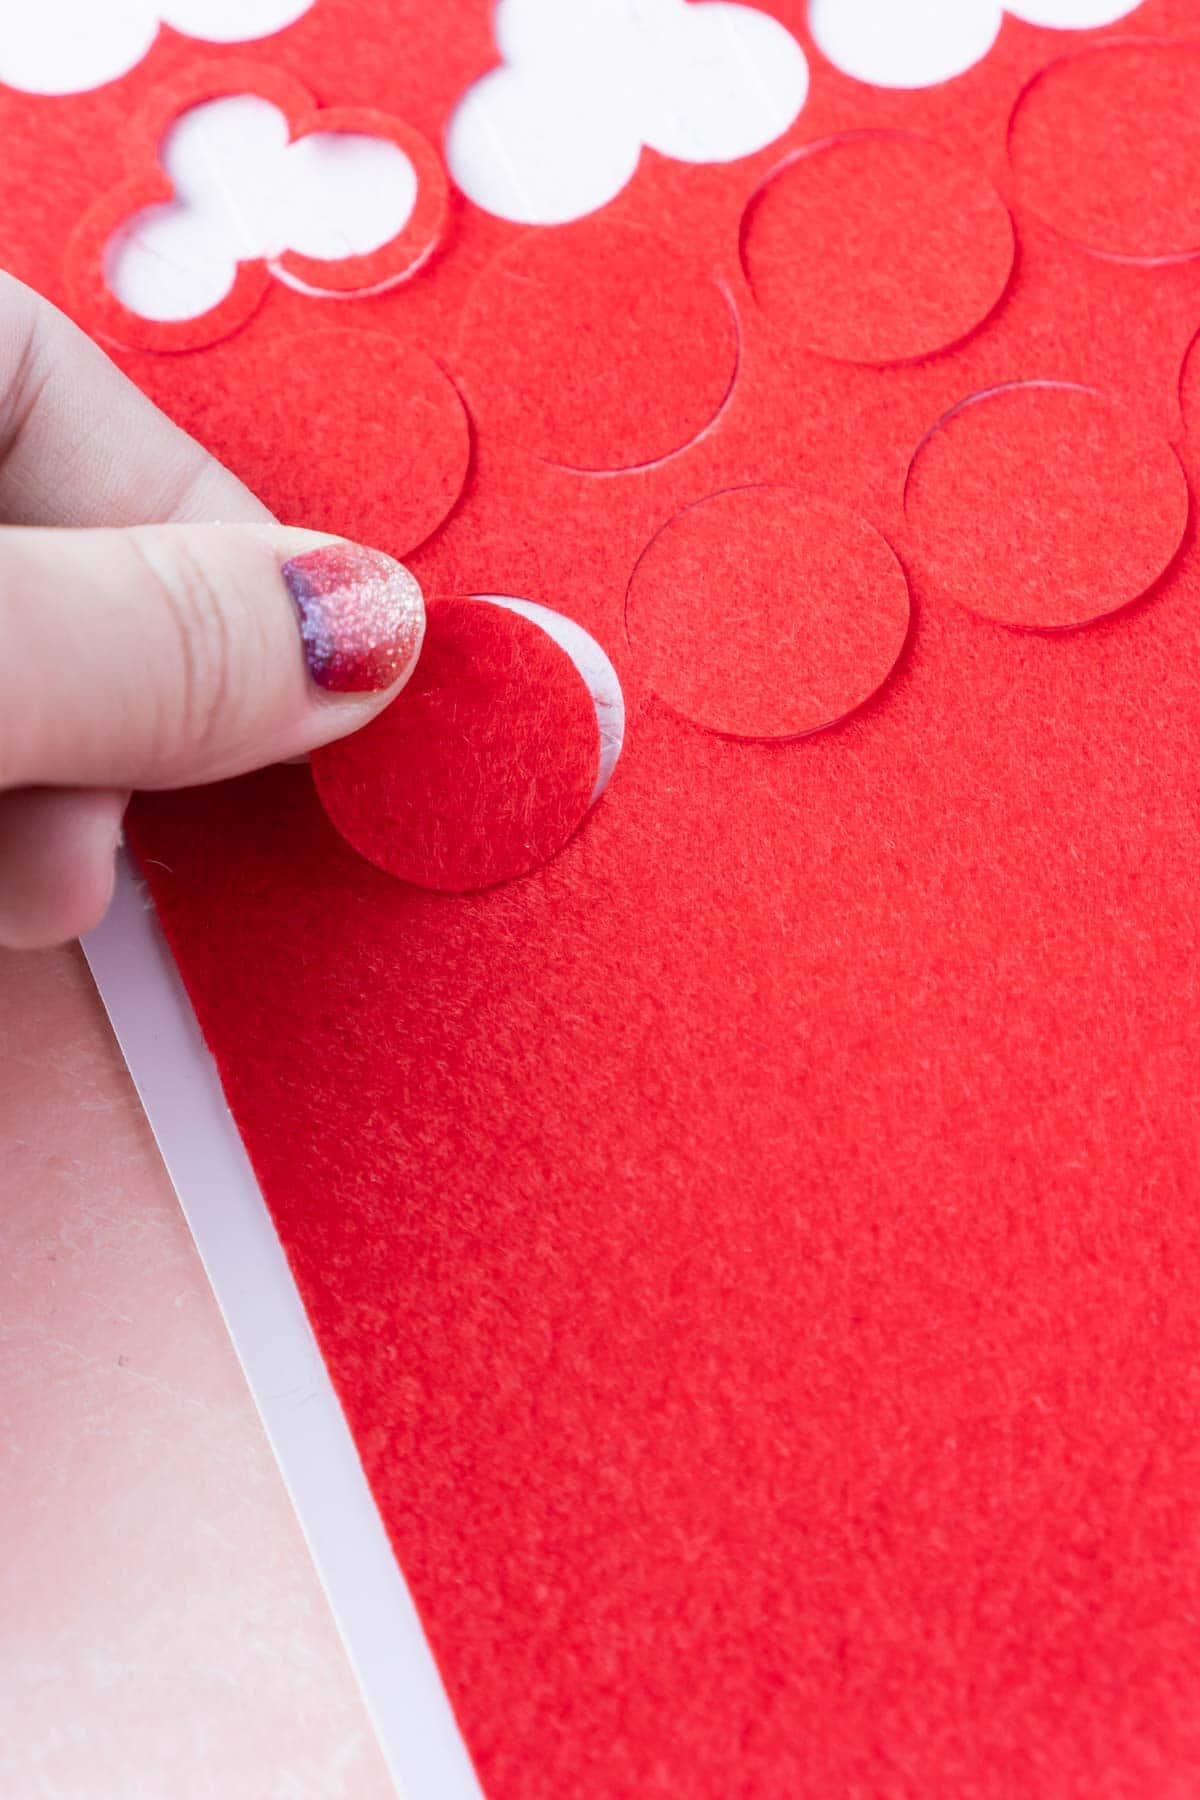
Once you have it how you want it, click the “Make It” button and it’ll take you to a screen with a bunch of different colored screens on the left side. Choose your machine and then you’ll need to choose your material. I typically just choose the felt option for any Cricut Felt. Once you’ve chosen your material, it will automatically recommend a tool to you. In the case of felt, it recommends the fine point blade. I recommend using the Rotary Blade instead so you’ll need to click on the little Edit Tools link (next to Tools + Material Loaded) and choose the rotary blade option. Load the felt onto your Cricut Mat and load it into your machine. Once it’s loaded, press the flashing cricket icon and let it cut. Cutting felt takes longer than paper so it may take a bit of time depending on which of the toppings you’re cutting but not more than a few minutes. Once the felt is cut, remove it from the mat and remove your pieces. If there is are any felt remnants left on the mat, use the spatula to scrape them off easily.
3 – Continue Cutting Felt Pizza Pieces
Load on your next piece of felt and do the same thing for all of the different pieces until you have all of your pizzas cut out. And you’re done and ready to do some of the felt activities for kids I’ve outlined below!
Ways to Use the Felt Pizza
Okay so there are a handful of different ways you can use a felt pizza along with the other printables I’ve made to go with it! I’ve outlined different variations of activities below but feel free to get creative as well if you want to use them for something like a big group, classroom, or at home preschool!
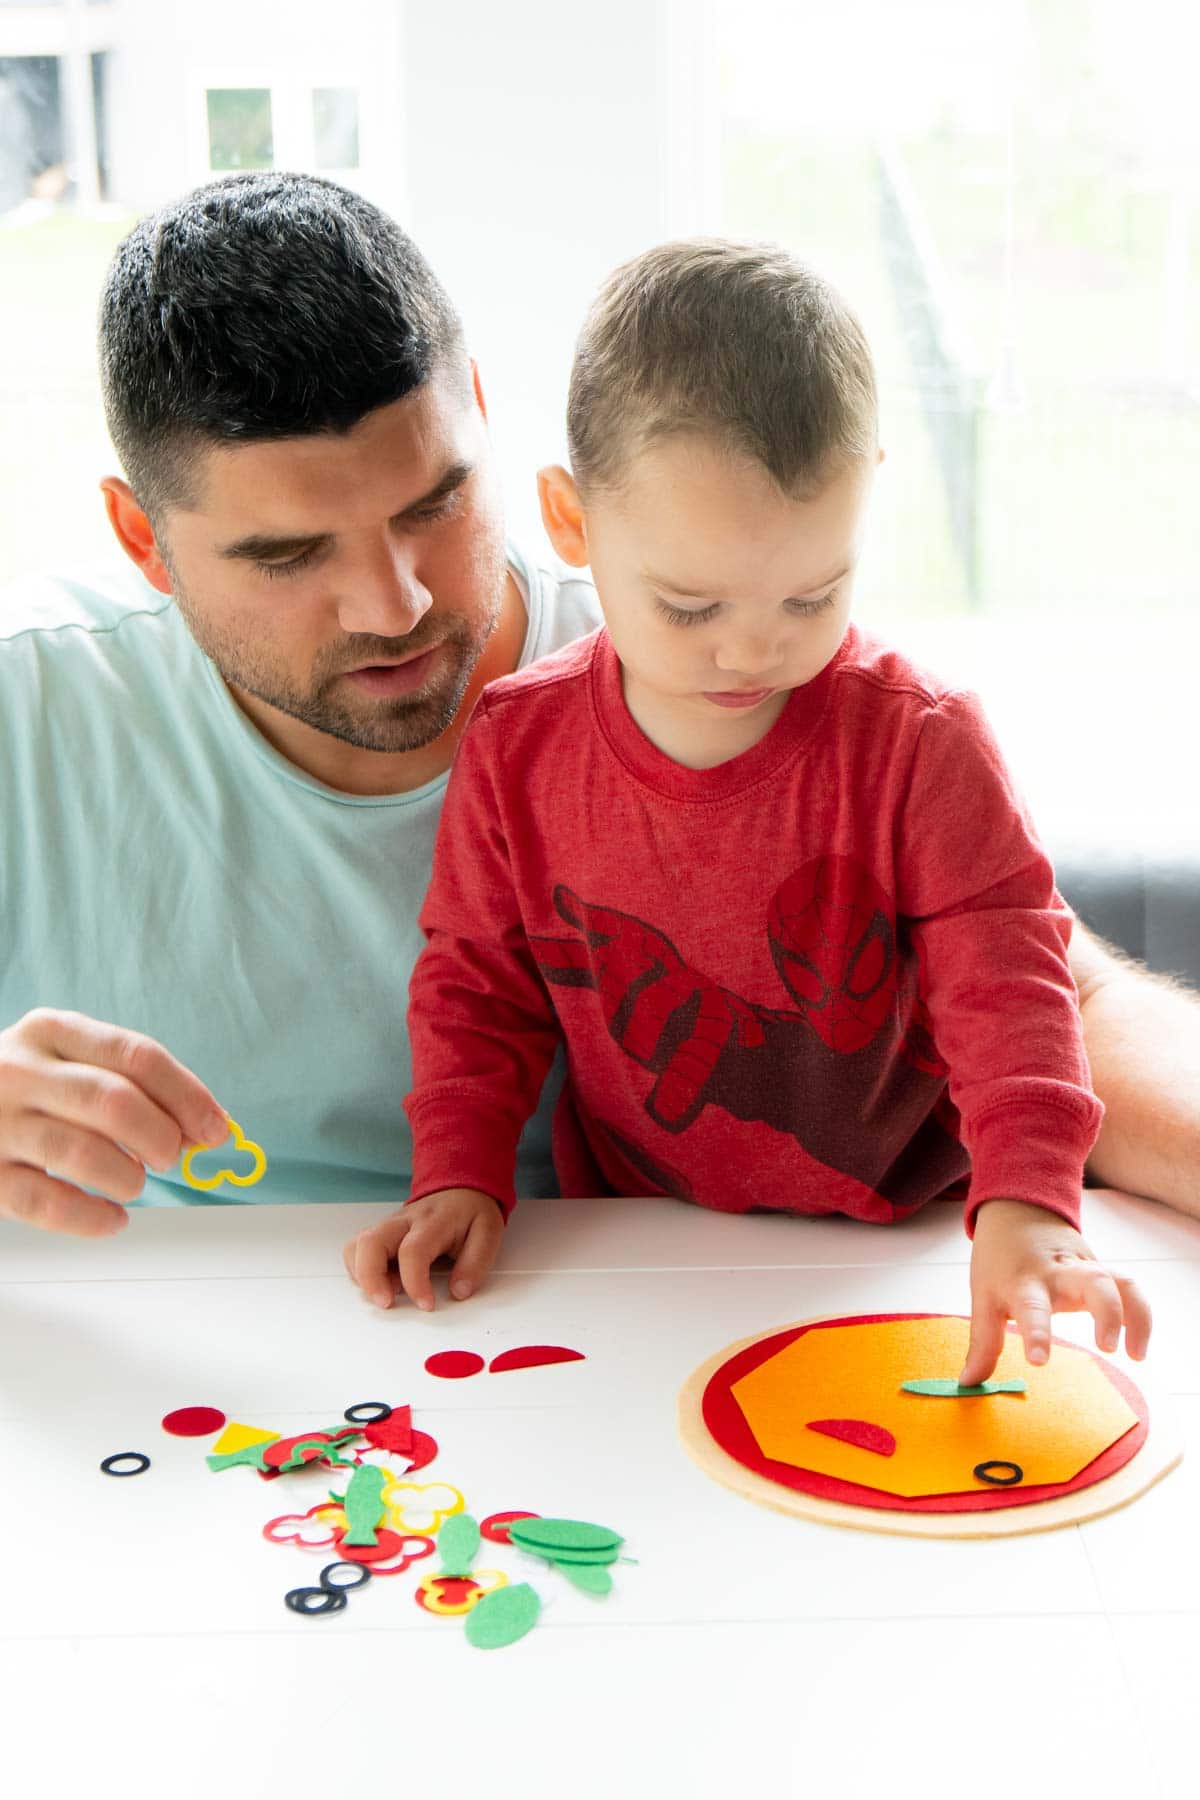
Free Play
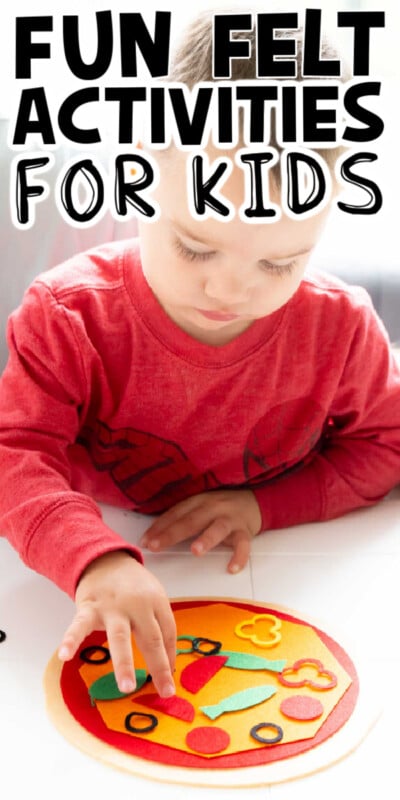
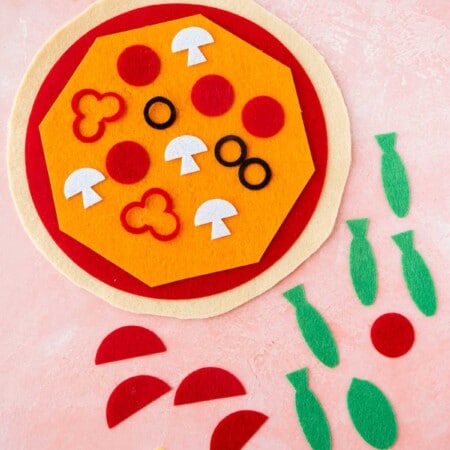
The first is the most obvious and probably the best option for younger kids – free play. Just put all of the pieces out and let kids make their own pizzas. I did this with my two year old and he had a great time making pizzas with my husband. I was actually surprised how long they played; he got mad when I had to take it away!
Multi Person Menu Ordering
The second way to play is with actual menu ordering and works best if you have a little older kids (preschool and up) and have multiple people playing together. Kids can take turns – one person orders with the printable menu cards I made (that match the Cricut Design Space file) and the other person makes the pizza, then switch. I know I mentioned it before but I highly recommend laminating the menu and order cards so that you can order over and over again with a dry erase marker without having to print out more cards!
Card Play
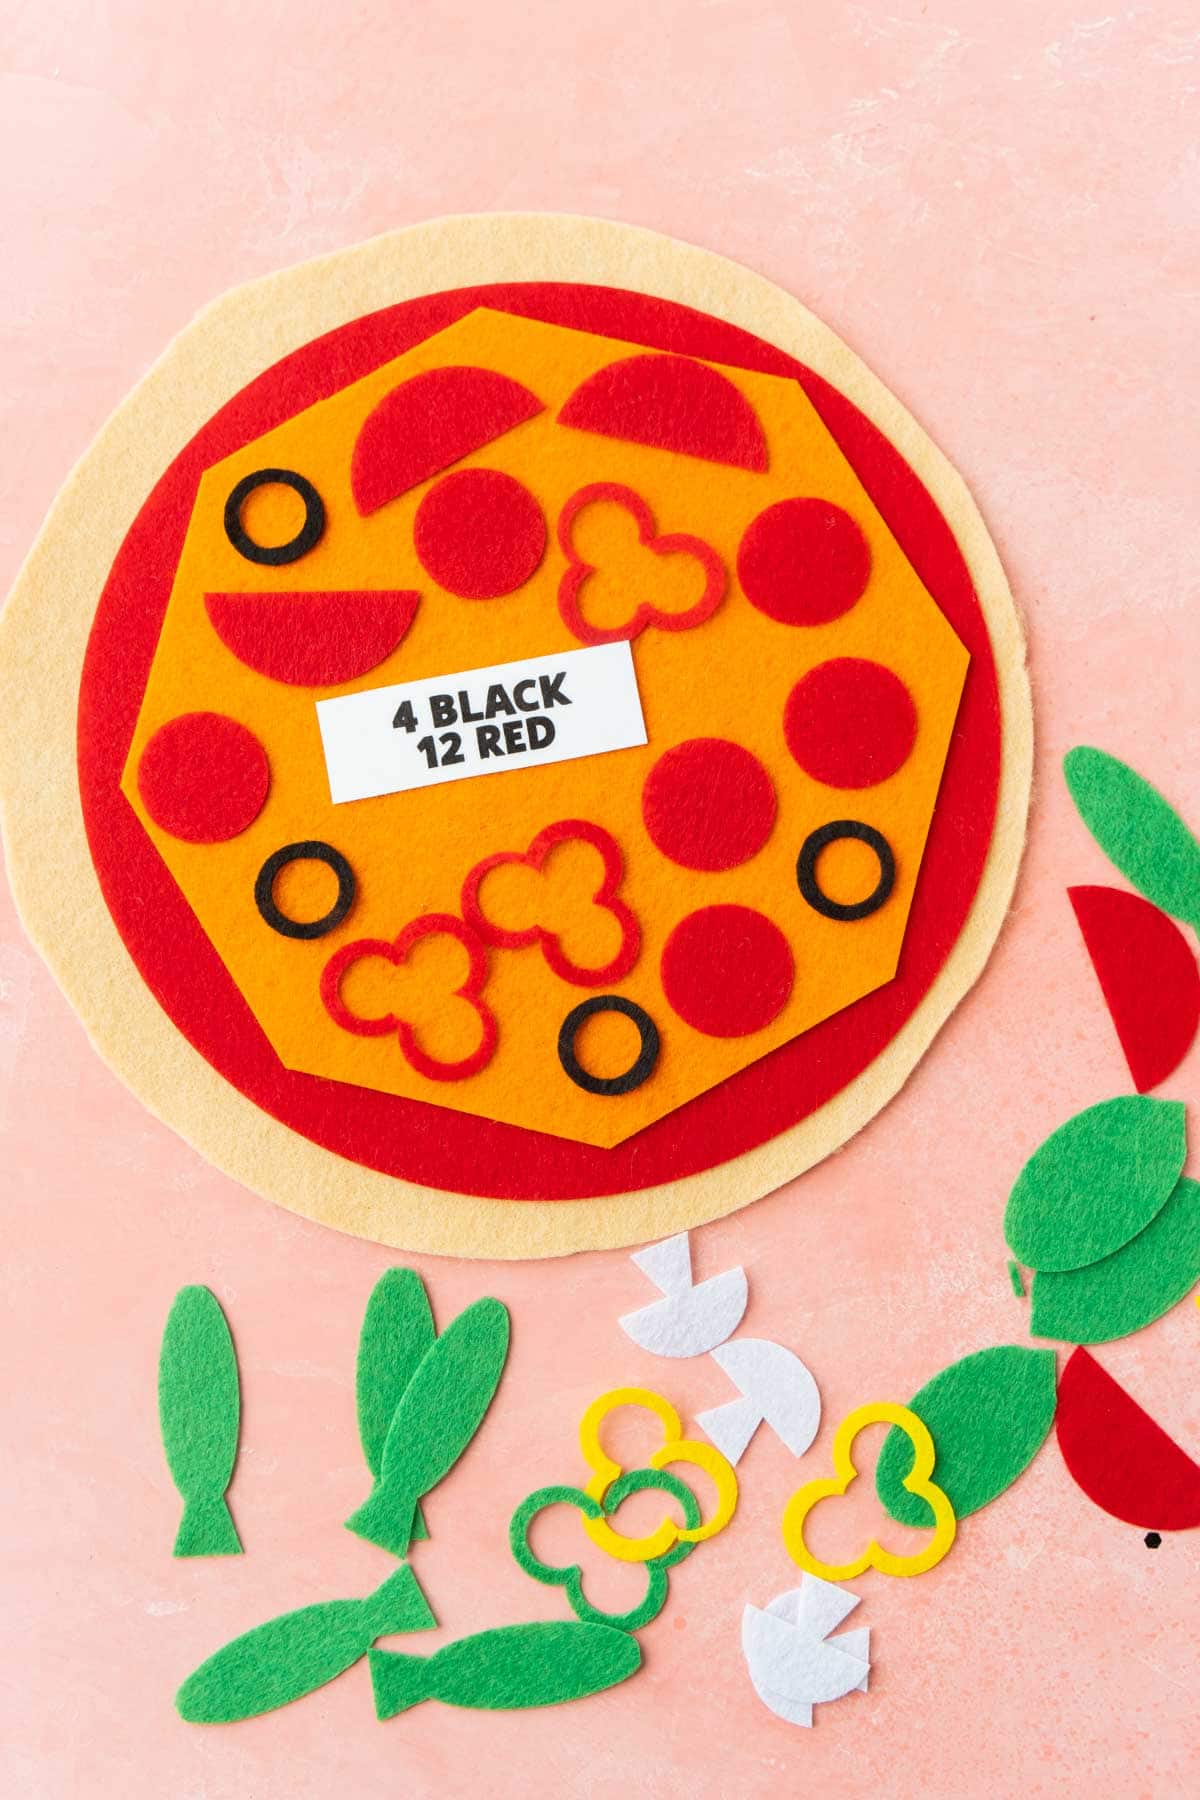
The third option works well whether you have one person who wants to do felt activities on their own, a group who wants to work together to make pizzas, a group where everyone has their own pizzas to make, or really anyone. You could even use this one with the menu above! For this one, I’ve made a deck of “order cards” that have different pizza orders on them. Place a pile of the cards near the pizza and let the pizza maker pick a card. They have to then make whatever pizza is on the order card. It’s simple and a great way to keep kids entertained on their own, challenge them with more unique orders (like all yellow ingredients), and good for learning how to pay attention to details. The cards are probably best used by kids who can read basic words (like colors) or in a group where at least one person can read. If enough people are interested, I could also make order cards that are just pictures instead of words – leave me a comment in this post if you are!
Felt Pizza Felt Activities
Okay now that I’ve given you ideas on how to use the felt pizzas, here are some of the things you can teach and felt activities you can do with them. I’ve incorporated all of these things into the printable order cards included in this post!
Tips for Storing the Felt Pizza
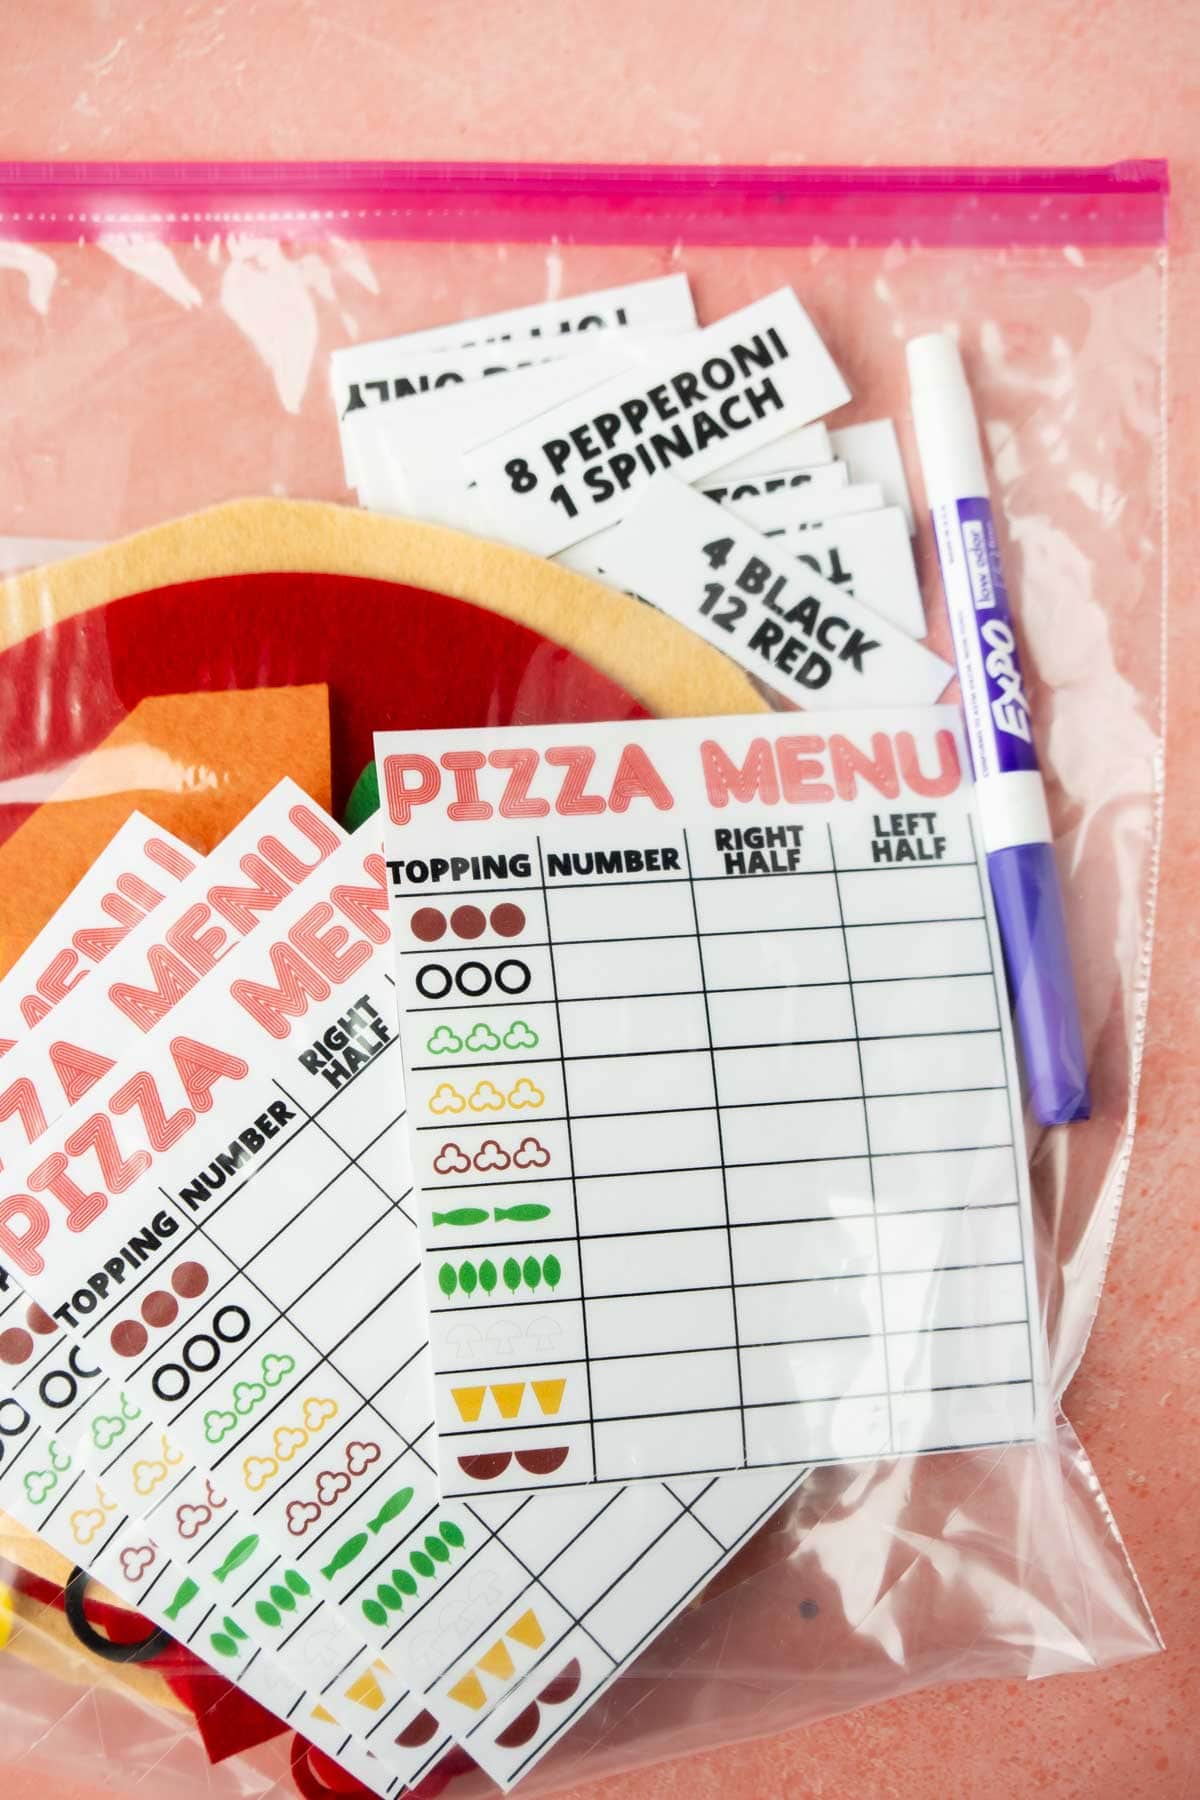
Store all of the felt pizza activity pieces together with a dry erase marker (assuming you laminated the menu cards) in a ziploc bag. Put it in an indoor activities box along with other activities like these DIY dice (and games) for a day when they need something to do. Separate the toppings from the larger parts of the pizza so it’s easy to dump out the toppings onto an empty surface without having to pull them all off of the larger felt pieces.
More Kids Activities
If you like these felt activities, you’ll love these other activities for kids!
Ball games for kids – tons of great ways to make being active and playing sports fun! Camping scavenger hunt – see how many of these things you can find on your next indoor or outdoor camping trip! Minute to win it games – put all of these ideas along with some simple and inexpensive supplies in a box and let kids entertain themselves for minutes (or hours!) Disney matching game – have kids that love Disney? Let them play this fun Disney matching game while they listen to your favorite Disney songs! Truth or dare questions for kids – use these 100+ truth or dare questions to keep kids busy doing silly things, answering silly questions, and more!
download the Menu and Pizza Cards
Click on the button below to download the free pizza menu and order cards. The file will include:
One page PDF with four menu cards – I recommend laminating and reusing the cards over and over againOne page PDF with 30 order cards – I recommend laminating to use over and over again.
If you do not see the button below, click here to get to the file.
